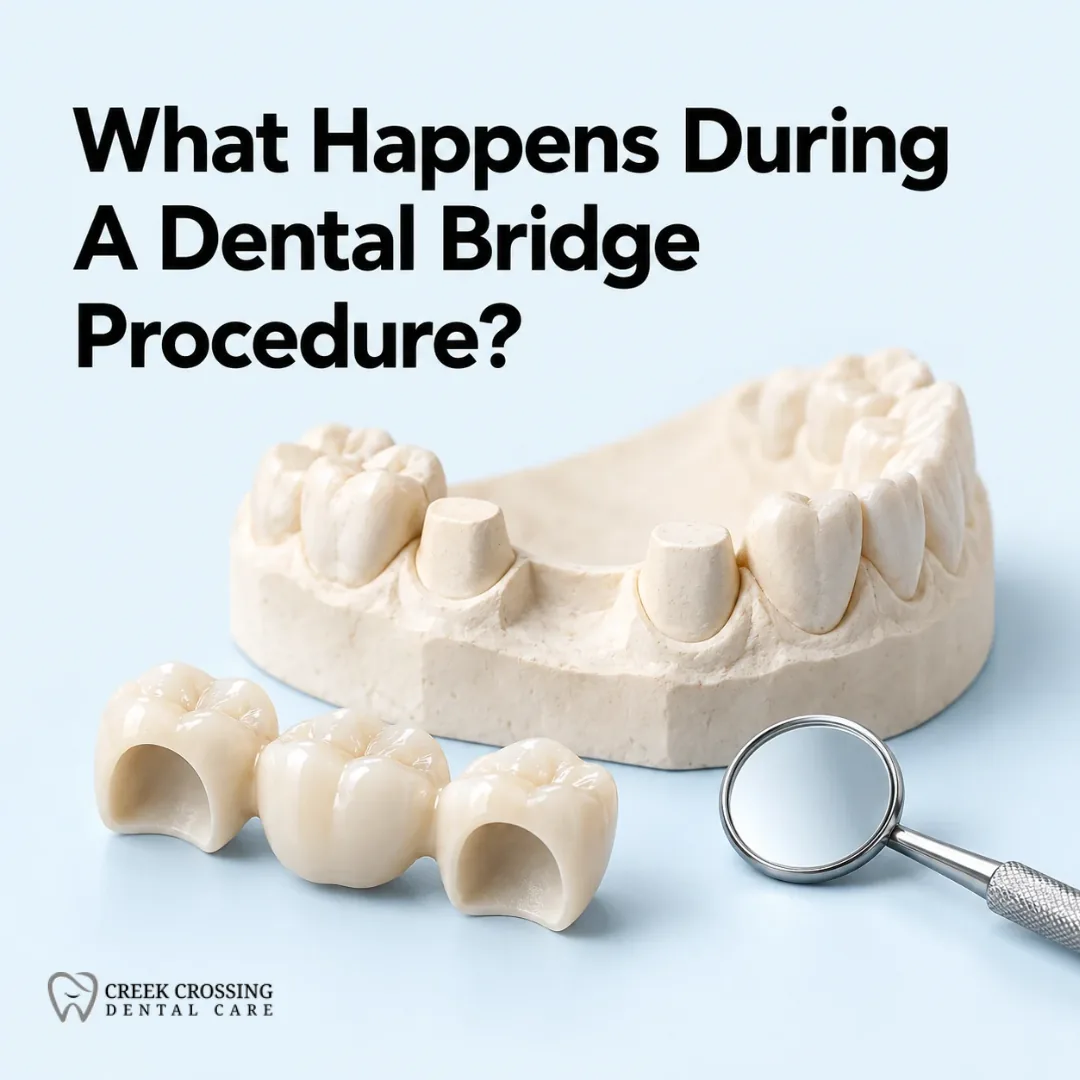
Many people face the gap left by a missing tooth. They may avoid smiling or chewing on one side. A bridge can fix that and bring back function and looks. Think of it as a small bridge for the mouth, with crowns on neighbor teeth that hold a false tooth, called a pontic.
Here you will know what happens at each visit, covering the exam, shaping the abutment teeth, impressions, a temporary bridge, how the lab builds the permanent piece, and the final fit.
A dentist performs an oral examination and reviews medical history. The clinician checks gum health and looks for tooth decay near the tooth gap. A patient described losing a molar years ago and noted sensitivity.
Next, the dentist outlines bridge options, including a dental crown for abutment teeth. Finally, the visit ends with a plan for enamel reshaping and impressions that lead to preparation of abutment teeth.
The dentist gently reshapes the teeth beside the gap to hold crowns. By shaping these abutment teeth, they create a solid foundation for your bridge.
Shaping the adjacent teeth is an important step in a dental bridge procedure. The dentist first removes some enamel from the abutment teeth. This preparation creates space for the dental crowns that will support the bridge. Careful reshaping allows for a snug fit and proper alignment.
After shaping, the dentist takes impressions of these teeth. These impressions guide the lab in creating the custom-made bridge and crowns. Accurate impressions lead to better results and help with comfort after placement.
A well-fitted restoration can improve oral health, making chewing easier and preserving gum health too.
Dental professionals take impressions of the abutment teeth to create a precise mold for the dental bridge. This step captures every detail, including shape and spacing. The dentist will use a special material that hardens quickly after placing it in your mouth. Patients often describe this process as similar to biting into soft putty.
While waiting for the impression to set, many feel at ease knowing it's a standard part of tooth restoration. Once ready, the dentist removes the impression gently. This mold is critical for crafting both temporary and permanent bridges that fit perfectly in the patient’s mouth.
After completing this step, they move on to placing a temporary bridge for protection until the final piece is ready.
After the preparation, the dentist places a temporary bridge over the abutment teeth. This step protects them while the permanent bridge is being made. The temporary bridge helps maintain chewing function and keeps tooth gaps covered. It secures to the abutment teeth using dental cement, providing stability.
Patients often feel relieved once their temporary bridges are in place. They can eat and speak more comfortably without worrying about missing teeth. Some might experience mild sensitivity or discomfort as they adjust, but this usually fades quickly.
Regular care will keep everything in good shape until it’s time for the permanent installation; so brushing gently around these areas is key during this period of waiting!
During the fabrication of the permanent bridge, a skilled technician creates it in the lab. They use impressions taken earlier to shape the new prosthetic. The process takes time but aims for a perfect fit.
Patients can choose from different materials, so they get something that matches their smile and needs.
The laboratory creation process begins after the dentist takes impressions of the abutment teeth. This crucial phase involves crafting a precise and functional dental bridge.
This careful effort results in a dental prosthesis that looks great and functions just like real teeth.
After lab work, choices about materials follow.
| Material | Pros | Cons | Best For |
|---|---|---|---|
| Porcelain-Fused-to-Metal (PFM) | - Strong bite force handled well. - Good color match near the gum line. - Long track record since the 1950s. | - Metal may show as a dark line at the gum. - Slight wear to opposing teeth is possible. - Can chip if stressed. | - Back teeth where strength matters. - Patients seeking proven performance. |
| All-Ceramic, Zirconia | - Very strong and tooth colored. - Excellent for metal-free smiles. - Resists staining. | - Can be rigid and cause wear on opposing teeth. - Higher cost than some options. - May need more removal of tooth structure. | - Front teeth for top esthetics. - Those wanting no metal. |
| All-Ceramic, Lithium Disilicate (e.max) | - Very lifelike translucency. - Good strength for front and back teeth. - Conservative tooth preparation is possible. | - Not as strong as zirconia for heavy grinders. - Higher lab cost than metal options. | - Cosmetic cases needing natural light effects. - Patients who clench lightly. |
| Gold and Metal Alloys | - Exceptional longevity and fit. - Minimal removal of opposing enamel. - Gentle on opposing teeth. | - Clearly metallic appearance. - Less popular for visible areas. | - Back teeth with heavy chewing. - Patients prioritizing durability. |
| Resin-Bonded (Maryland) Bridge | - Conservative, minimal prep. - Quick and cost friendly. - Good for a single missing front tooth. | - Less durable long term. - Possible debonding after years. - Not ideal for heavy bite forces. | - Short-term replacements. - When adjacent teeth are healthy. |
| Acrylic (Temporary) | - Fast and inexpensive. - Protects prepared teeth during lab work. - Easy to adjust in the chair. | - Limited strength and wear resistance. - Meant for short term use only. | - Interim solution while waiting for the final bridge. - Healing and testing of fit and bite. |
The dentist places the permanent bridge carefully in position. They check the fit and make adjustments as needed for comfort. Once everything feels just right, they bond the bridge securely in place. This step transforms a gap into a full smile once again.
Fitting and adjustments
After the dentist places the permanent bridge, they check its fit. They make sure it sits comfortably and looks good. If something feels off, they adjust it right away. This step is crucial since a proper fit helps with chewing and speaking.
A patient may experience slight pressure during this process, but it shouldn't be painful. The dentist often asks for feedback on how the bridge feels. Small tweaks can lead to big improvements in comfort and function. Once everything aligns well, bonding begins to secure the bridge in place firmly.
The dentist will bond the bridge in place. They apply a dental adhesive to secure it firmly over the abutment teeth. Each step requires focus, ensuring everything aligns perfectly. This process guarantees that the pontic fits snugly in the gap where the missing tooth once was.
Once bonded, they check how well it feels while biting and chewing. Adjustments may follow if needed; this ensures comfort for daily use. After confirming fit and comfort, they finalize the bonding with a special light that hardens the adhesive quickly.
This crucial step sets up patients for smoother eating habits ahead, leading right into aftercare and recovery tips.
After the procedure, patients may feel some sensitivity or discomfort. This is normal and often fades quickly. Taking over-the-counter pain relievers can help ease any lingering soreness.
Maintaining good oral hygiene becomes even more important now. Brushing and flossing around the new bridge helps keep teeth healthy. Regular dental check-ups are also key to ensuring everything stays in tip-top shape!
Managing sensitivity and discomfort
Sensitivity and discomfort can occur after a dental bridge procedure. Patients might feel some soreness in the abutment teeth, which could last for a few days. Over-the-counter pain relievers often help ease this feeling.
It’s important to communicate with the dentist if discomfort persists; they can adjust the bridge or suggest other solutions.
Maintaining good oral hygiene is crucial during recovery. Brushing gently around the new dental prosthesis helps keep gums healthy and reduces sensitivity. Flossing daily ensures that food particles do not get trapped between teeth, minimizing irritation.
Many patients find it useful to use a soft-bristled toothbrush for added comfort while cleaning their mouths after surgery.
Keeping a dental bridge clean is essential for its longevity. Proper oral hygiene can help maintain gum health and prevent issues.
Following these tips will help keep a dental bridge in great shape while ensuring overall oral health remains at its best!
A dental bridge procedure replaces missing teeth. It uses crowns on the adjacent teeth to support an artificial tooth, called a pontic. This helps restore your smile and improve function.
The entire process usually takes two visits to the dentist. During the first visit, they prepare your teeth and make impressions. The second visit involves placing the final bridge.
You may feel some discomfort during the preparation phase; however, dentists use local anesthesia to minimize pain. Most patients find it manageable and often say it feels better than expected.
Caring for your new dental bridge is simple but important. Brush twice daily and floss around it regularly to keep everything clean and healthy; this will help prolong its life too!
Reading about it only gets you so far — if something hurts or you're overdue for a visit, we can help today.
Tell us a little about what you need — we'll be in touch shortly.
1927 FAITHON P LUCAS SR BLVD Ste 120 MESQUITE TX 75181-1698, United States

Hi! I'm Tooth fairy! Your AI Assistant Ask me anything